IMG_7053

How to Choose the Perfect Wig: A Complete Guide

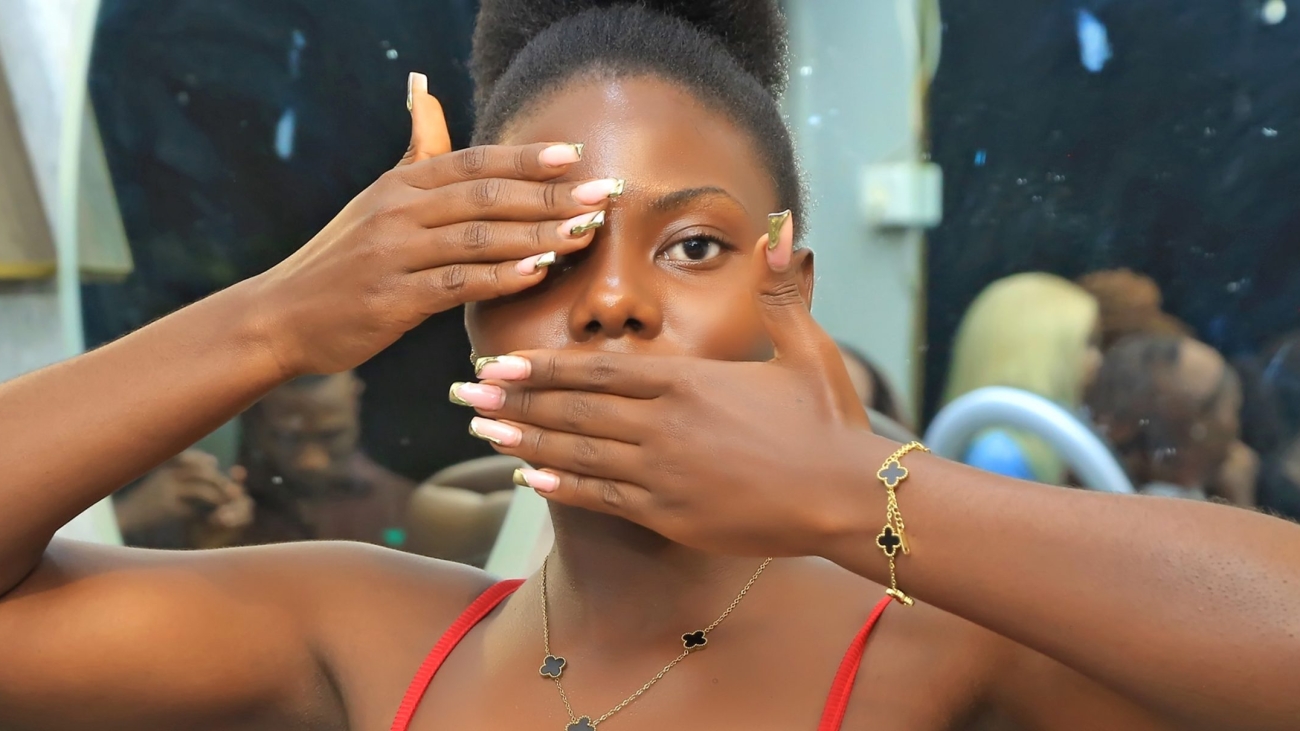
Wigs are a versatile, confidence-boosting way to switch up your look—but with so many options, how do you pick the right one? Whether you want natural glam, protective styling, or a bold new vibe, this guide from Glow & Go Beauty Parlour will help you choose the perfect wig for your face shape, lifestyle, and budget!


✨ Step 1: Determine Your Wig Type

1. Lace Front Wigs

Natural hairline (undetectable at the front).
Versatile styling (ponytails, side parts).
💡 Best for: Everyday wear, special occasions.

2. Full Lace Wigs

Most realistic (can part anywhere).
Lightweight & breathable.
💡 Best for: Frequent wearers, bridal looks.

3. U-Part Wigs

Blends with your leave-out hair.
No glue needed (less damage).
💡 Best for: Beginners, protective styling.

4. Headband Wigs

Easy to wear (no glue/lace cutting).
Great for quick styling.
💡 Best for: Gym, running errands.


✨ Step 2: Pick the Right Hair Texture

Straight Hair

✔ Sleek, professional look.
✔ Easy to maintain.

Body Wave/ Loose Curl

✔ Adds volume & bounce.
✔ Great for a natural, effortless vibe.

Kinky/Coily

✔ Matches Afro-textured hair.
✔ Perfect for a seamless blend.

Synthetic vs. Human Hair

FeatureHuman HairSynthetic
Lifespan1+ years3-6 months
StylingHeat-friendlyLimited styling
CostExpensiveAffordable

💡 Tip: If you want to curl, dye, or flat-iron, go for human hair.


✨ Step 3: Match the Wig to Your Face Shape

Oval Face

Most styles work (lucky you!).
🔥 Try: Long layers, side-swept bangs.

Round Face

Add height & length.
🔥 Try: Long wavy wigs, deep side parts.

Square Face

Soft layers & waves.
🔥 Try: Shoulder-length curls, fringe bangs.

Heart-Shaped Face

Balance with volume at the chin.
🔥 Try: Bob cuts, wispy layers.


✨ Step 4: Consider Your Lifestyle

  • Busy & Low-Maintenance?Headband or U-part wig.
  • Want Glam & Versatility?Lace front or full lace wig.
  • On a Budget?Synthetic wigs (great for experimenting).

✨ Step 5: Get the Right Size

  • Average Cap Size: 21.5″-22.5″ (measure your head circumference).
  • Adjustable Straps → Ensure a snug, comfortable fit.

🌟 Pro Tips for Wig Shopping

Check the Density (180%-250% for a natural look).
Choose Your Color Wisely (match your skin’s undertone).
Read Reviews (look for real client photos).


💁♀️ “I Found My Perfect Wig!” – Real Client Review

“Glow & Go helped me pick a kinky straight lace front—it looks SO real!”Tasha, Kampala


🎁 Ready to Find Your Dream Wig?

📅 Book a Wig Consultation at Glow & Go!
👉 Free fitting & styling tips included.

[💻 Click to Book Your Appointment]

P.S. Ask about our “Wig Installation Package”—includes wig cut, custom bleached knots & 2-week follow-up 😍

T4

Acrylic vs. Gel Nails: Which Is Right for You?

At Glow & Go Beauty Parlour, we know choosing between acrylic and gel nails can be confusing. Both give you gorgeous, long-lasting nails, but they have key differences in application, durability, and maintenance.

This guide will break down pros, cons, costs, and which option suits your lifestyle—so you can make the best choice for your next manicure!

✨ Acrylic Nails: The Classic Choice

What Are Acrylic Nails?

Acrylics are a mix of liquid monomer and powder polymer that hardens when exposed to air. They’re applied over tips or forms to add length and strength.

Pros of Acrylics

✅ Super Strong – Less likely to break or bend (great for weak nails!).
✅ Customizable Shapes – Coffin, stiletto, almond—you name it!
✅ Easier to Fill – Can be refilled every 2-3 weeks without full removal.
✅ Budget-Friendly – Usually cheaper than gel extensions.

Cons of Acrylics

❌ Strong Odor – The liquid monomer has a noticeable chemical smell.
❌ Thicker Look – Can appear bulkier than natural nails.
❌ Potential Damage – Improper removal can weaken nails.

💡 Best For:

  • Those who want durable, long nails for weeks.

  • People who prefer dramatic shapes & lengths.

💅 Price at Glow & Go are incredibly affordable

✨ Gel Nails: The Natural-Looking Alternative

What Are Gel Nails?

Gel polish is a softer, more flexible formula cured under a UV/LED lamp. It can be used on natural nails or with gel extensions (like BIAB or hard gel).

Pros of Gel Nails

✅ Lightweight & Natural – Feels like your real nails, just shinier!
✅ No Harsh Smell – Great for sensitive noses.
✅ Less Damage – Soaks off easier than acrylics.
✅ Glossy Finish – Looks freshly polished for 2-3 weeks.

Cons of Gel Nails

❌ Less Durable – More prone to lifting if you’re rough with your hands.
❌ Requires UV Light – Must be cured under a lamp.
❌ Higher Maintenance – Needs fills every 2 weeks for extensions.

💡 Best For:

  • Those who prefer a natural, glossy look.

  • People who want less damage & easier removal.

💅 Price at Glow & Go extremely affordable

🔍 Key Differences: Acrylic vs. Gel

Feature Acrylic Nails Gel Nails
Durability Extremely strong Flexible but less durable
Look Thicker, more dramatic Natural, glossy
Smell Strong chemical odor Odor-free
Removal Filing required Soaks off in acetone
Cost More affordable Slightly pricier
Maintenance Fills every 2-3 weeks Fills every 2 weeks

💖 Which Should You Choose?

Go for ACRYLIC if you…

  • Want long, dramatic nails (e.g., coffin, stiletto).

  • Need maximum durability (great for hands-on jobs).

  • Prefer lower maintenance (fills last longer).

Go for GEL if you…

  • Love a natural, glossy finish.

  • Have sensitive noses (no strong fumes).

  • Want easier removal with less damage.

🌟 Pro Tips from Our Nail Techs

  • Prep Matters: Always start with clean, dry nails to prevent lifting.

  • Moisturize Daily: Cuticle oil keeps nails healthy under enhancements.

  • Don’t Pick! Book a professional removal to avoid damage.

💅 Ready to Glow? Book your acrylic or gel manicure today!

[📅 RESERVE YOUR APPOINTMENT] – First-time clients get 10% OFF!


Still unsure? Ask for a consultation—we’ll help you pick the perfect option! 😊

hom1

Acne-Friendly Makeup: How to Cover Breakouts Without Clogging Pores

Introduction

Acne-prone skin needs gentle, non-comedogenic makeup that won’t trigger flare-ups. As Glow & Go’s makeup artists, we swear by these dermatologist-approved tips for flawless, breathable coverage.

Step 1: Prep Your Skin

  • Cleanse: Use a salicylic acid wash
  • Moisturize: Gel-based formulas

Step 2: Choose the Right Products

✅ Safe Picks:
  • Foundation: Mineral powder or water-based liquid
  • Concealer: Non-greasy, with tea tree oil.
  • Blush/Bronzer: Cream formulas (less drying than powder).
❌ Avoid:
  • Heavy silicone primers.
  • Sparkly highlighters (can irritate active acne).

Step 3: Application Tips

  • Spot-Conceal: Use a tiny brush to dab only on blemishes.
  • Set with Powder: Light dusting of silica-based translucent powder.

Step 4: Nighttime Removal

  • Double Cleanse: Oil cleanser first, then foam.
  • Salon Service: Our “Clear Skin Facial” helps prevent future breakouts!
💡 Pro Tip: Book a makeup lesson with us to learn acne-safe techniques!